Operation 1: Manual Programming
|
Operation 1 End Result
|
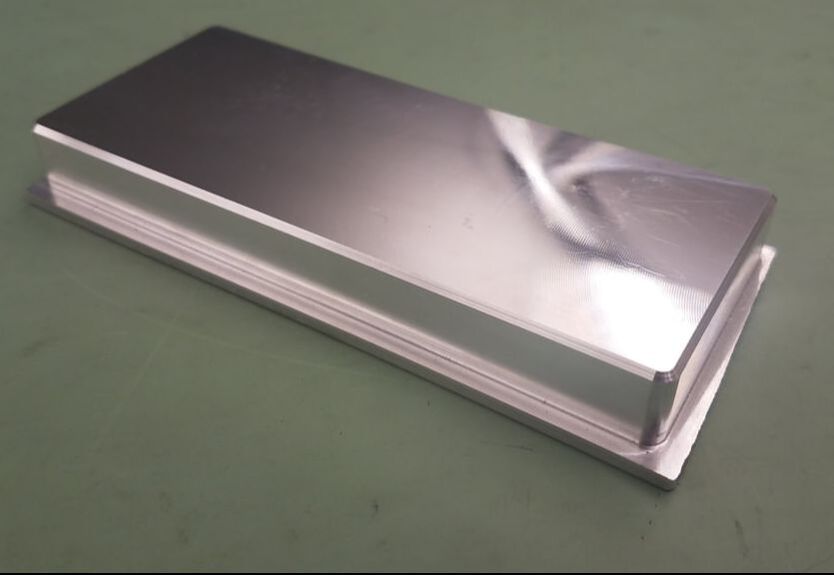
For this operation, G&M code was manually programmed to better understand how the machine works to process information. In the future, programs such as MasterCAM or HSMWorks provide a more efficient and dynamic system for generating the G&M code for the machine. This allows for more complex geometry and quicker part production in the future.
Part and tool offsets were set manually using gage blocks and an edge finder. The machine setup process takes longer than necessary because of this and could be expedited using a probe on the table and in the machine. The next operation was done using MasterCAM programming and a probe for tool/part offsets. |
Operation 2
|
Operation 2 End Result
|
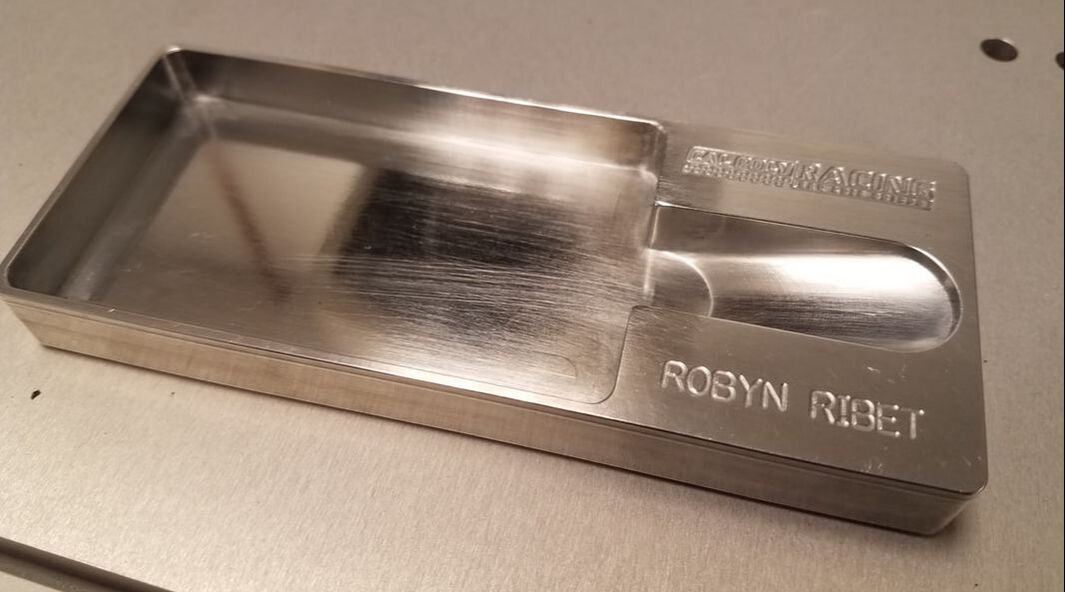
For Operation #2 of the business card holder, new processes and tools were used to create a more efficient and accurate manufacturing and inspection process. Mastercam, soft jaws, the OMP 40 Probe, the tool setting probe, and the CMM expedited the manufacturing process into a repeatable and reliable system. They provide a more efficient and dynamic system for generating the G&M code, locating the part, and doing final inspection. This allows for more complex geometry and quicker part production.
Errors in the machining process are revealed during the part inspection operation. At this point, it is important to adjust the setup process or G&M code to correct those errors and prevent production of parts that do not meet specified requirements. Even though there was not a complete inspection done, the part met the dimension tolerances that were measured. Using MasterCAM rather than manually programming the part minimized errors and reduced cycle time. |
|
Skills:
Engraving MasterCAM Toolpath Simulation Aluminum Soft Jaw Optical Measurement Machine Inspections |
|


